1. 개요
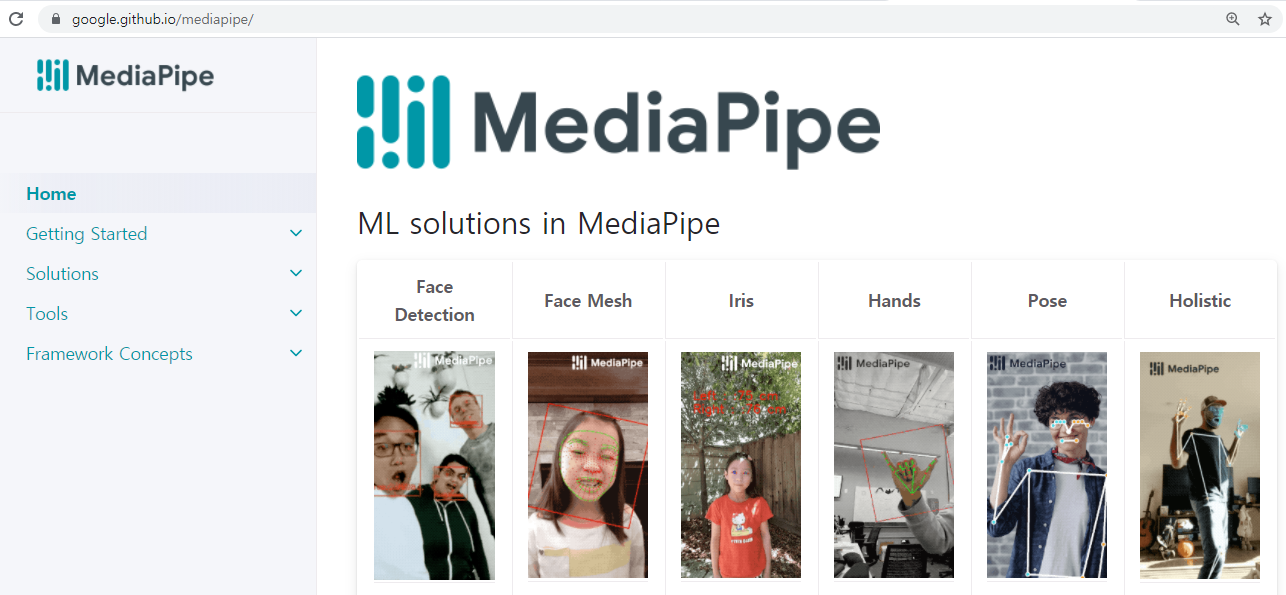
이 MeidaPipe를 이용하면 AI 를 쉽게 개발에 적용하여 개발할 수 있다. MeidaPipe는 Google 에서 제공하는 머신러닝을 실행 할 수 있는 솔루션이다.
https://google.github.io/mediapipe/
2. 파이썬에서 Face Mesh를 사용하여 보자.
파이썬 프로젝트를 만들고 MeidaPipe 라이브러리를 설치한다. 홈페이지에는 많은 샘플 코드가 있으며 거의 수정없이 바로 수행된다. 라이브러리도 쉽게 설치가 된다.
> pip install mediapipe
3. 코드의 실행
MeidaPipe 의 Face Mesh 샘플코드를 실행하여 보자.
import cv2
import mediapipe as mp
mp_drawing = mp.solutions.drawing_utils
mp_face_mesh = mp.solutions.face_mesh

# For webcam input:
drawing_spec = mp_drawing.DrawingSpec(thickness=1, circle_radius=1)
cap = cv2.VideoCapture(0)
with mp_face_mesh.FaceMesh(min_detection_confidence=0.5, min_tracking_confidence=0.5) as face_mesh:
    while cap.isOpened():
        success, image = cap.read()
        if not success:
          print("Ignoring empty camera frame.")
          # If loading a video, use 'break' instead of 'continue'.
          continue

        # Flip the image horizontally for a later selfie-view display, and convert
        # the BGR image to RGB.
        image = cv2.cvtColor(cv2.flip(image, 1), cv2.COLOR_BGR2RGB)
        # To improve performance, optionally mark the image as not writeable to
        # pass by reference.
        image.flags.writeable = False
        results = face_mesh.process(image)

        # Draw the face mesh annotations on the image.
        image.flags.writeable = True
        image = cv2.cvtColor(image, cv2.COLOR_RGB2BGR)
        if results.multi_face_landmarks:
            for face_landmarks in results.multi_face_landmarks:
                print(face_landmarks)
                mp_drawing.draw_landmarks(
                  image=image,
                  landmark_list=face_landmarks,
                  connections=mp_face_mesh.FACE_CONNECTIONS,
                  landmark_drawing_spec=drawing_spec,
                  connection_drawing_spec=drawing_spec)
        cv2.imshow('MediaPipe FaceMesh', image)
        if cv2.waitKey(5) & 0xFF == 27:
            break
cap.release()
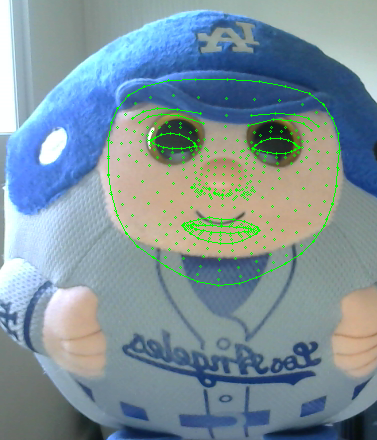
3. 실행결과
웹캠을 이용하여 얼굴의 Face를 추적할 수 있다.
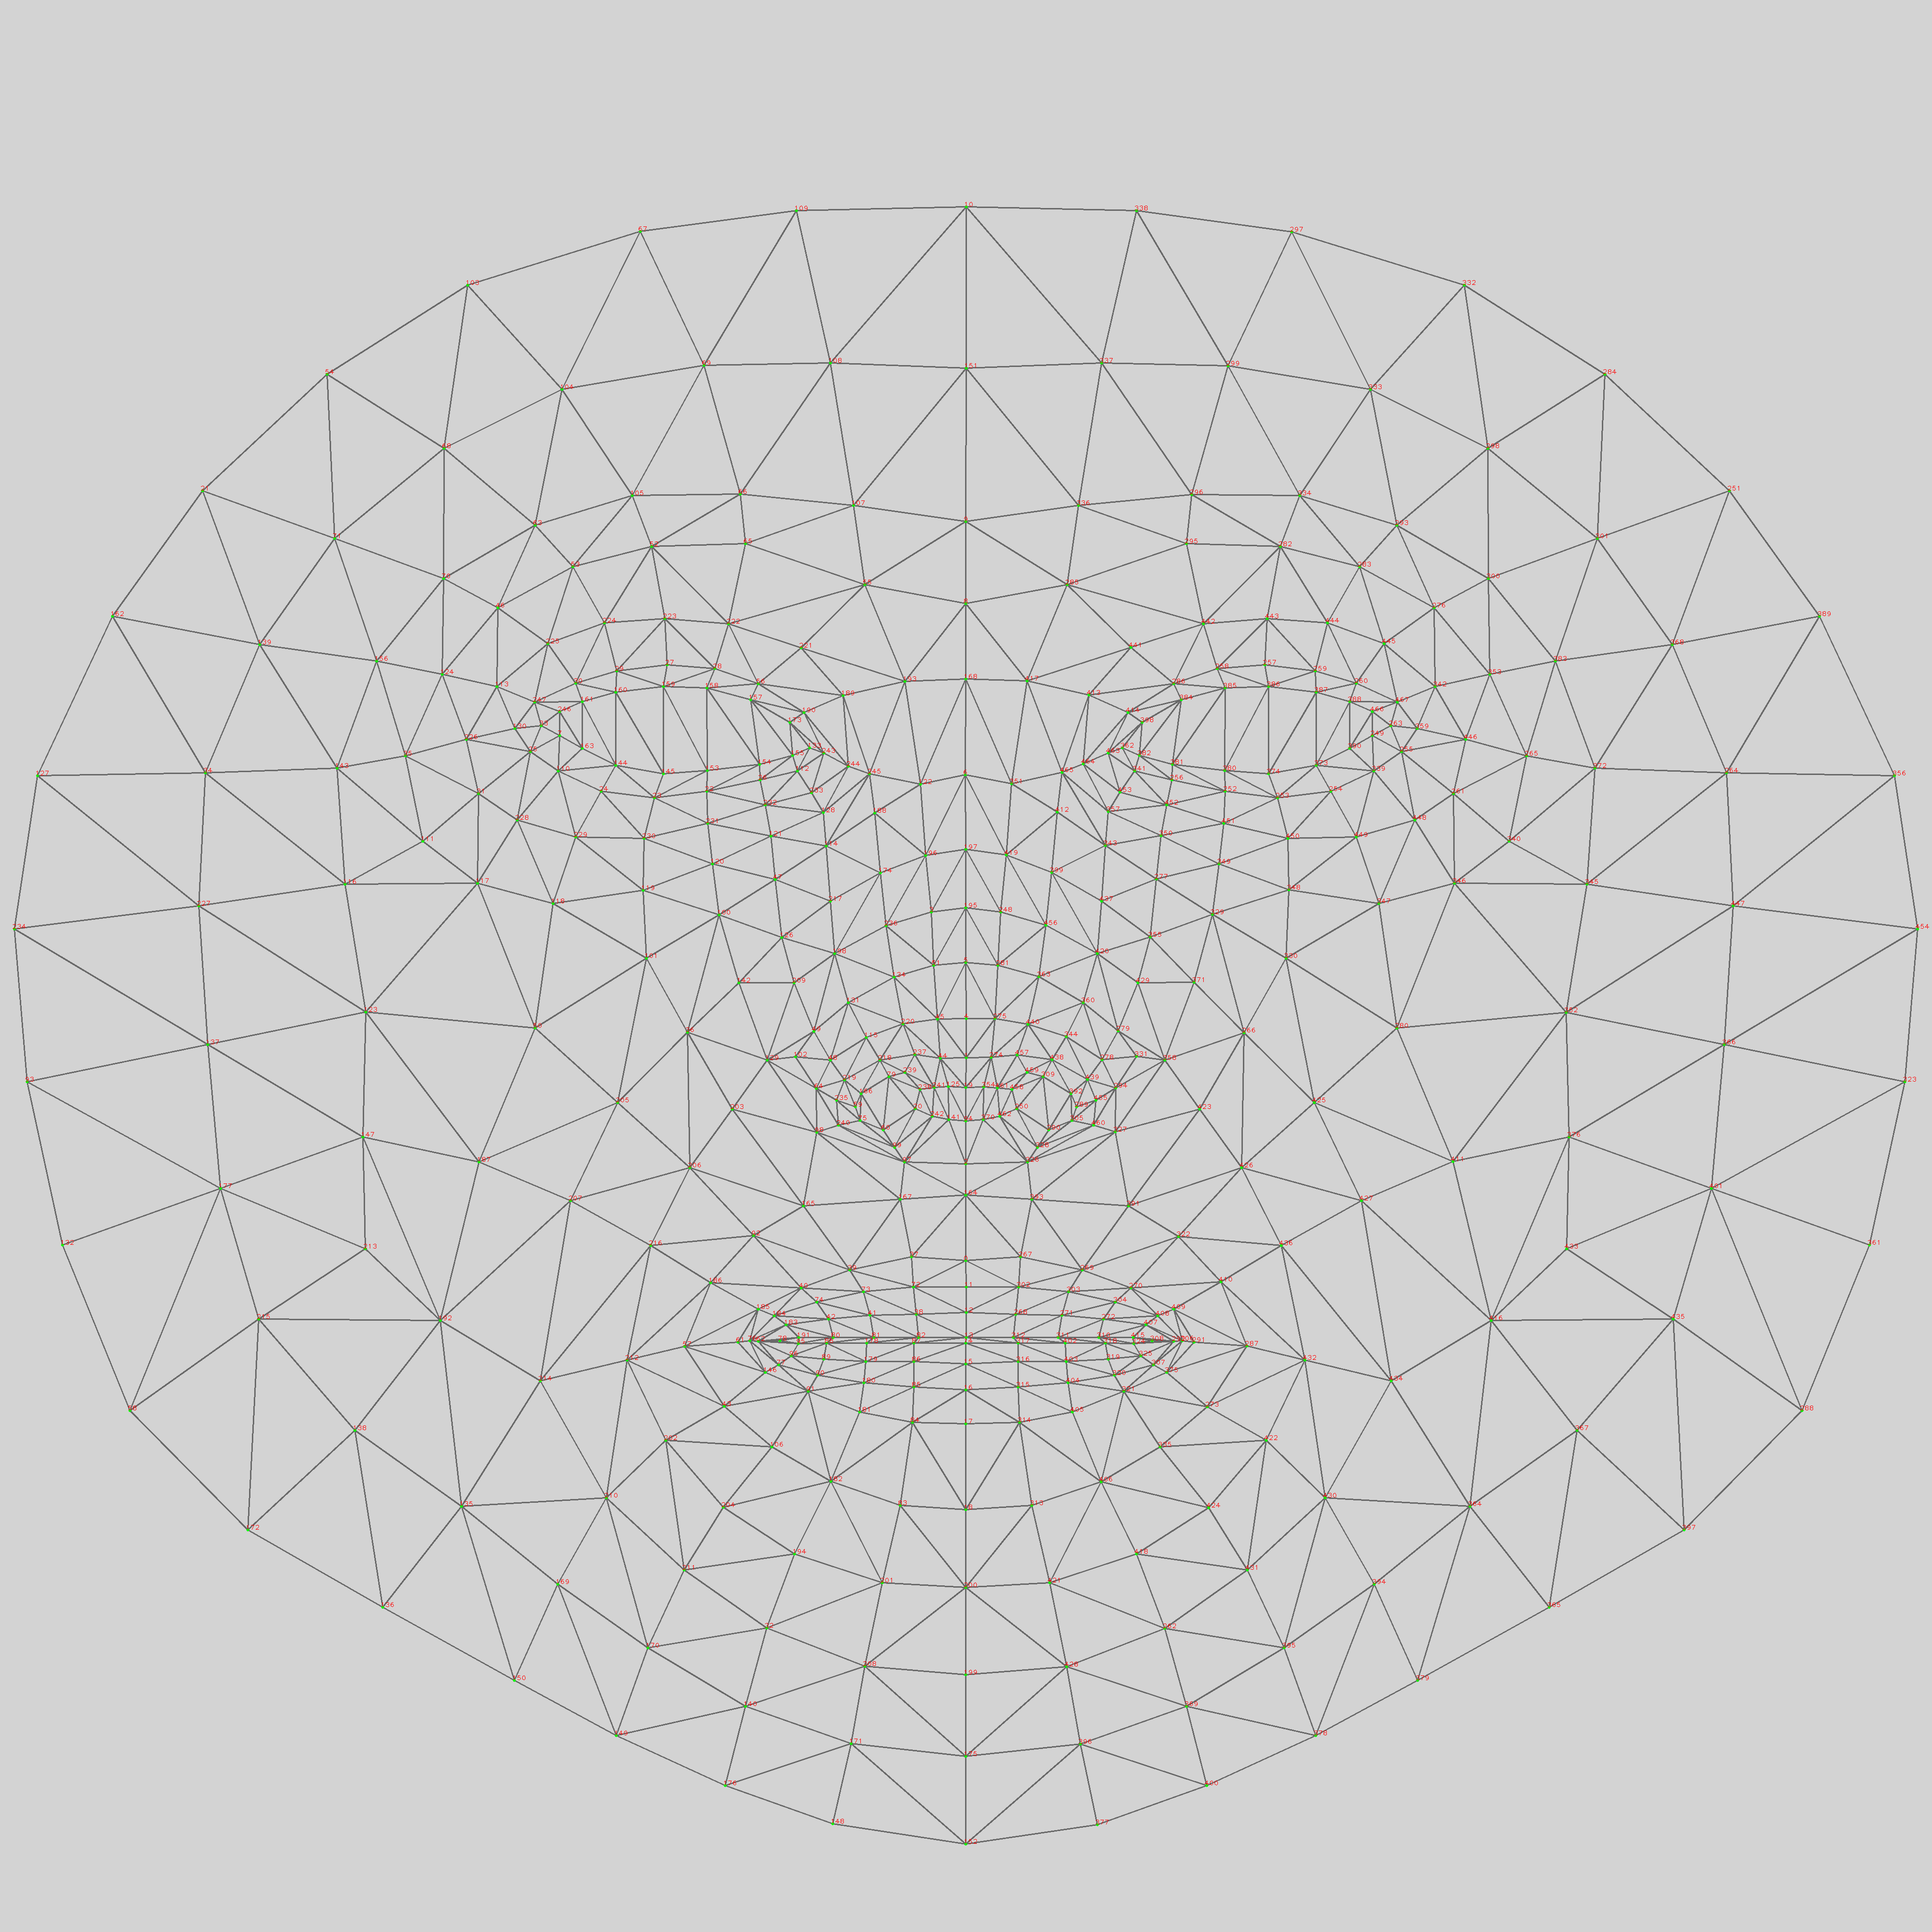
마커의 고유 위치 번호는 아래 그림과 같다.
반응형